
Assembling our non-lit cable suspended poster display kits is easier than most people think. Typically used for displaying certificates, leaflets, and brochures. Commonly used by estate agents, travel agents, beauty salons, and many other types of businesses. Select the optional wall mounted fixings if you want to attach your display to the wall.
The following video demonstrates the entire process from start to finish. It starts by showing you how to attach the cable kits from top to bottom, followed by attaching the panel clamps to the acrylic poster holders, and then how to insert the posters by flexing away the front face.
Click here to purchase one of our cable suspended poster display kits from our range of preconfigured layouts.
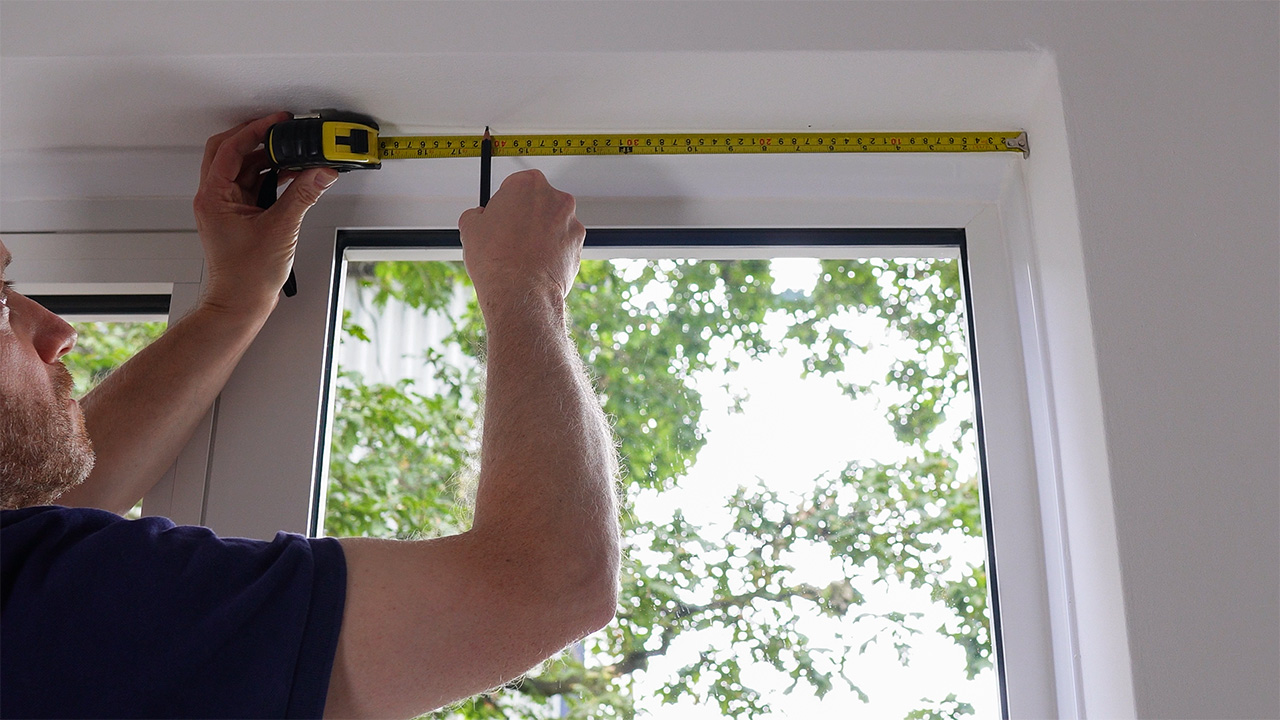
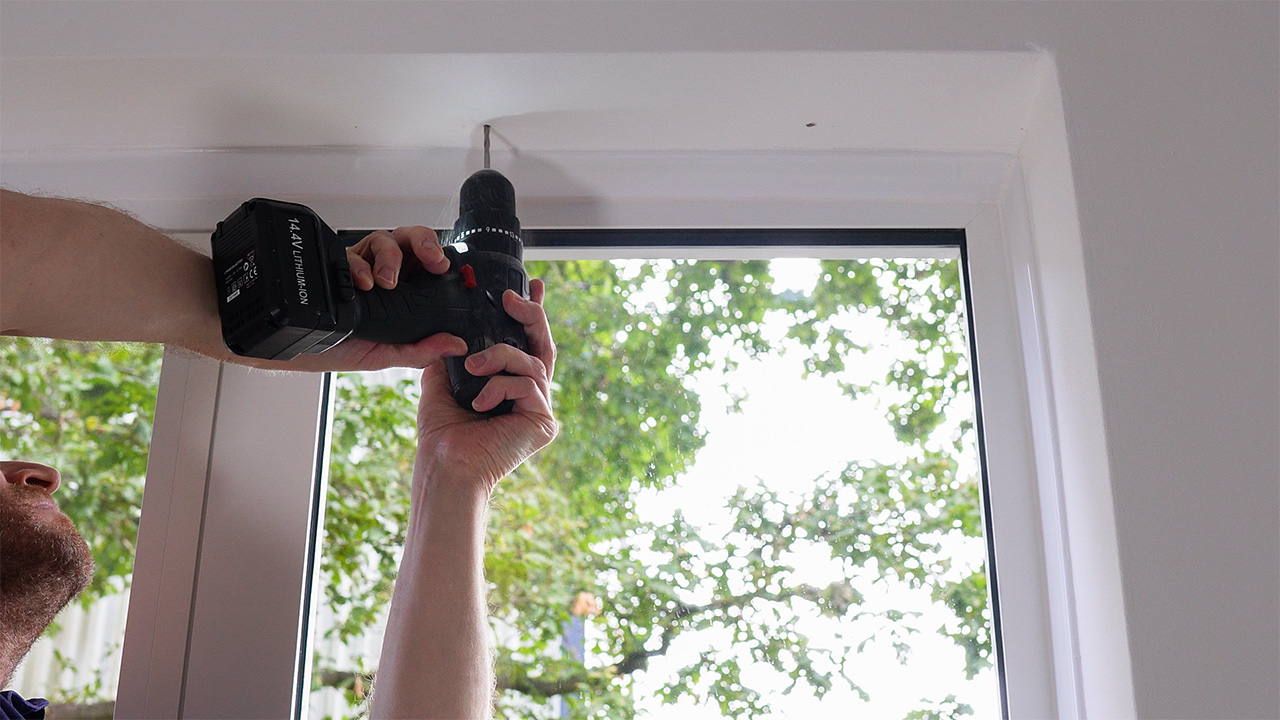
Carefully mark out the hole positions to the distance stated in the instructions, making sure that you double check your measurements before proceeding to drill the holes.
Drill the holes, starting with a pilot drill bit (4 to 5mm will do), and then drill to the finished diameter by using a 7mm drill bit.
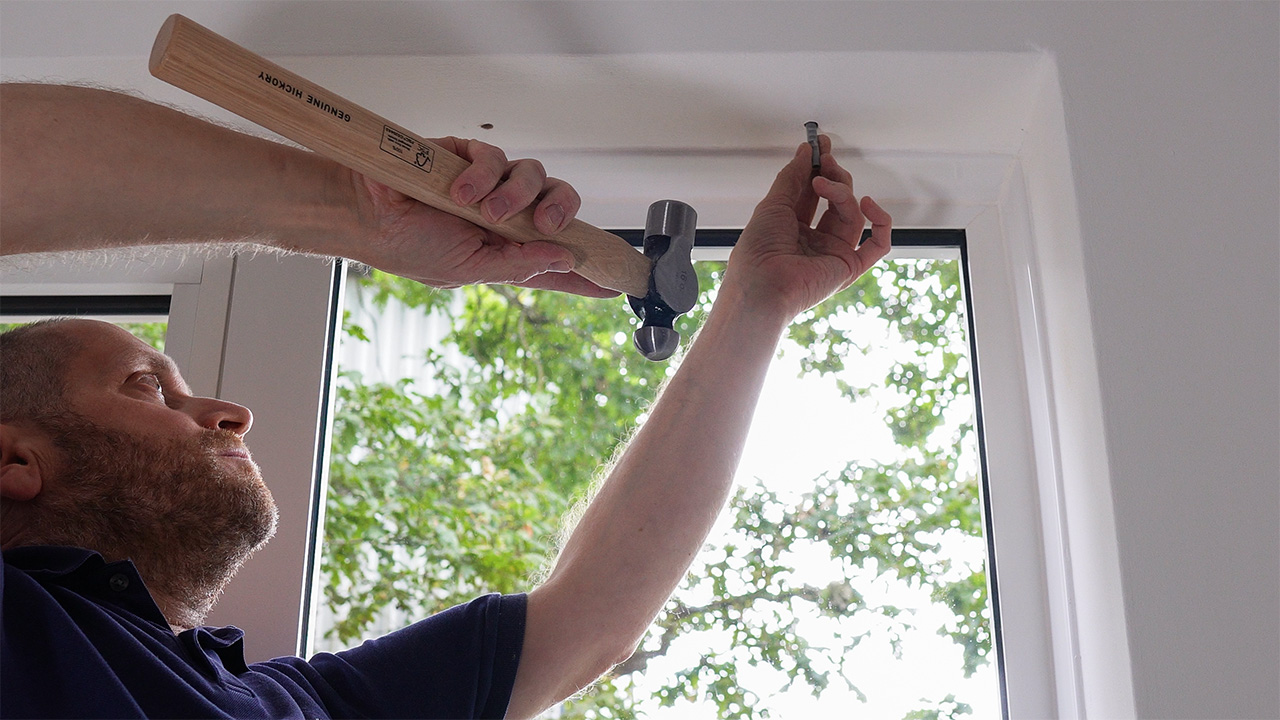
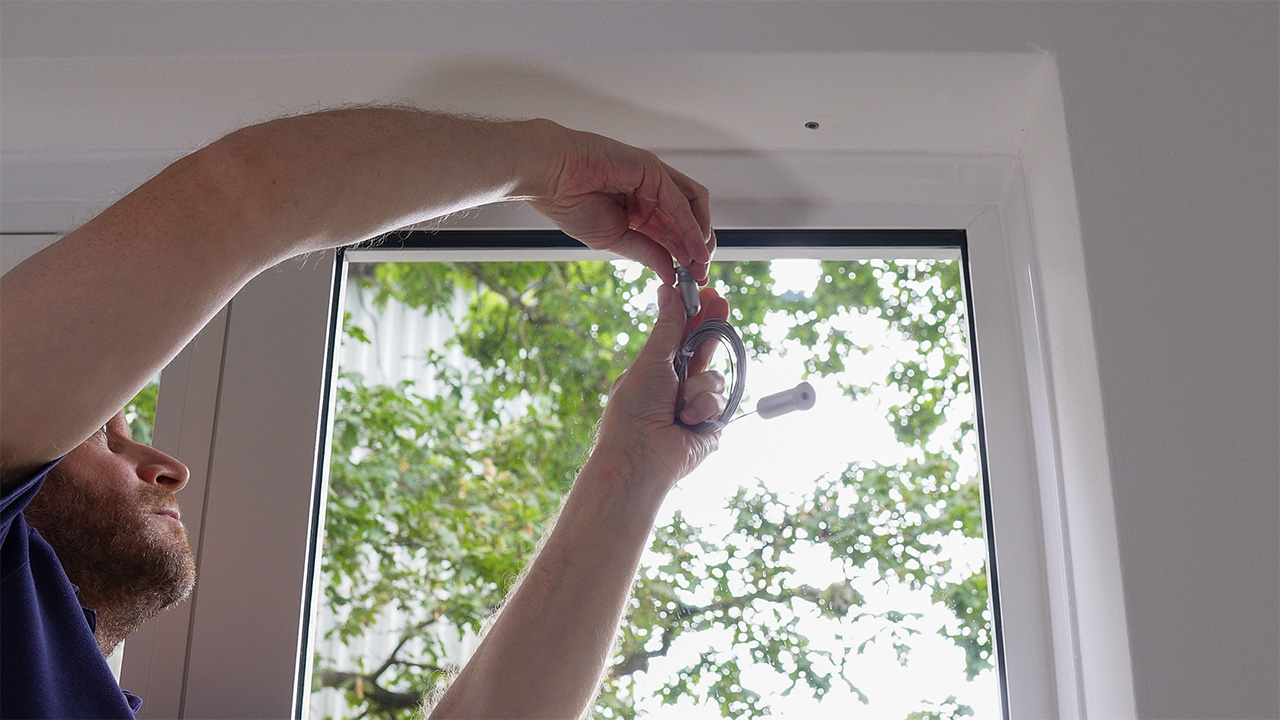
Insert each plastic plug into its hole and use a hammer to gently tap them in until they're flush with the surface. Note that if you're screwing into a wooden surface, you don't need to use the plastic plugs.
Unscrew the inner fixing from its outer body for the ceiling/window recess (top) end of the cable kit.
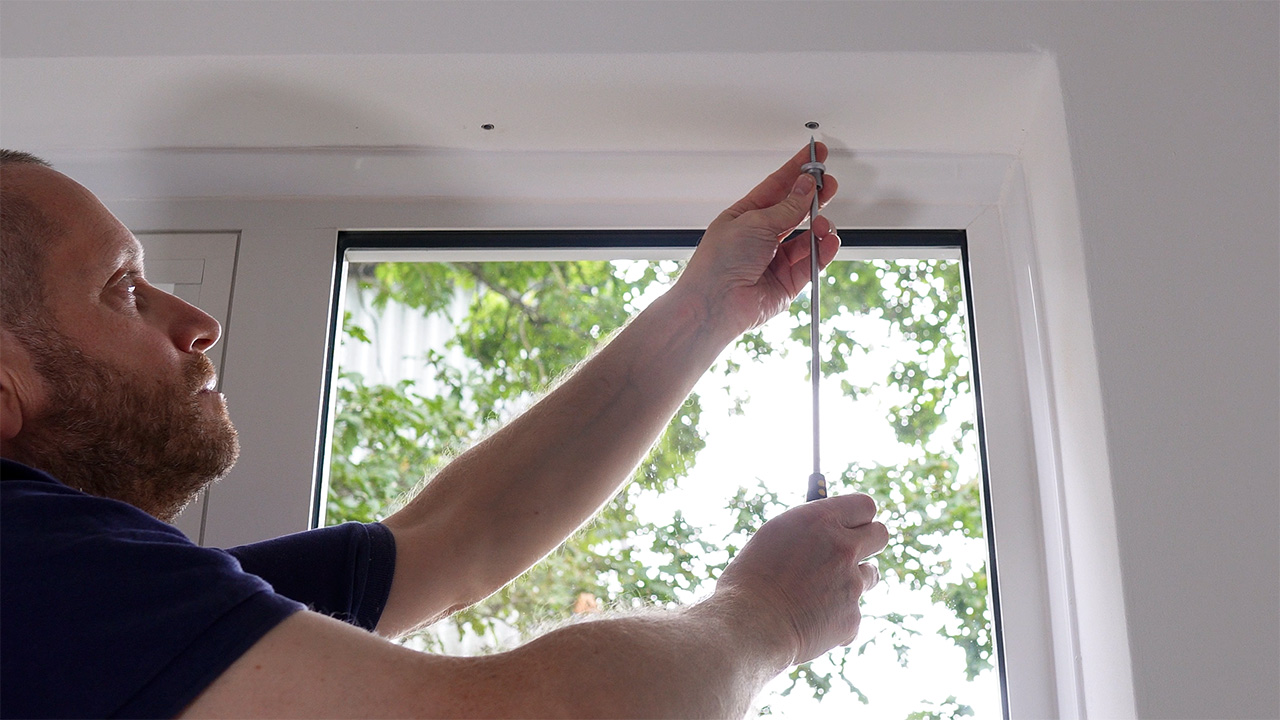
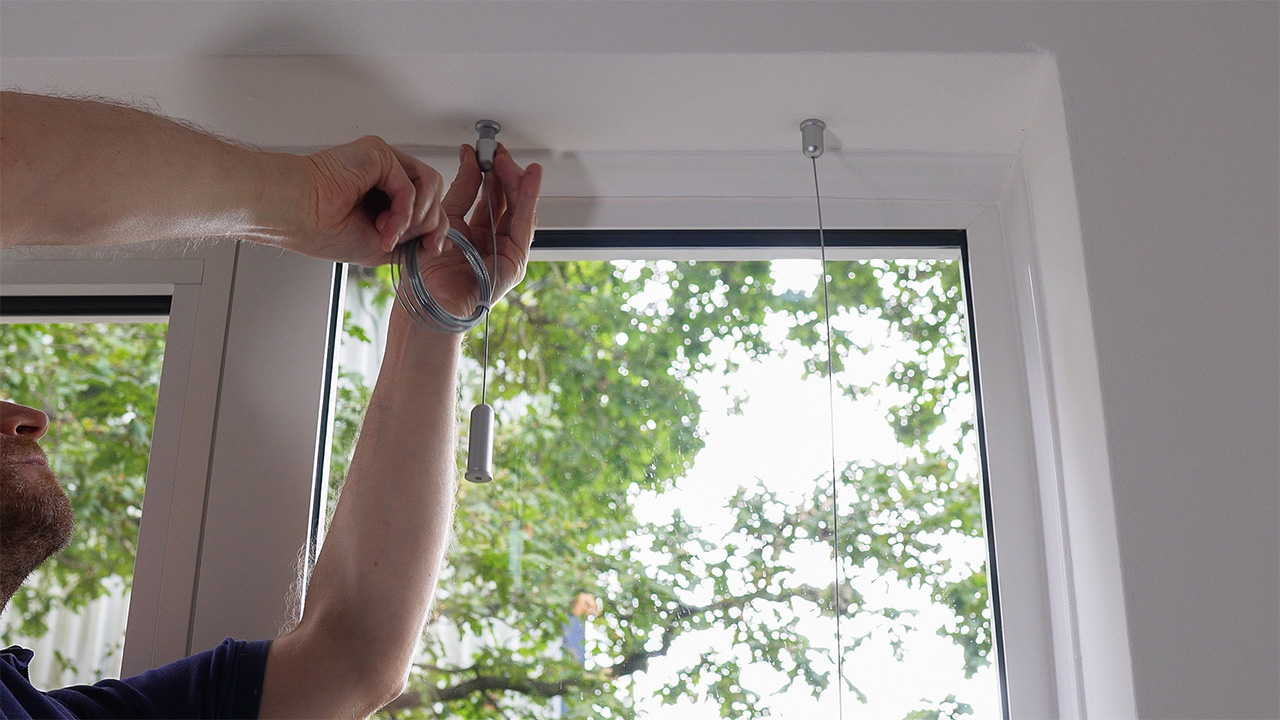
Screw the inner fixing to the ceiling/window recess top. Note that the screws and plastic plugs are all included with the display.
Attach the cable kit and allow it to hang down, by screwing its outer body onto the inner fixing.
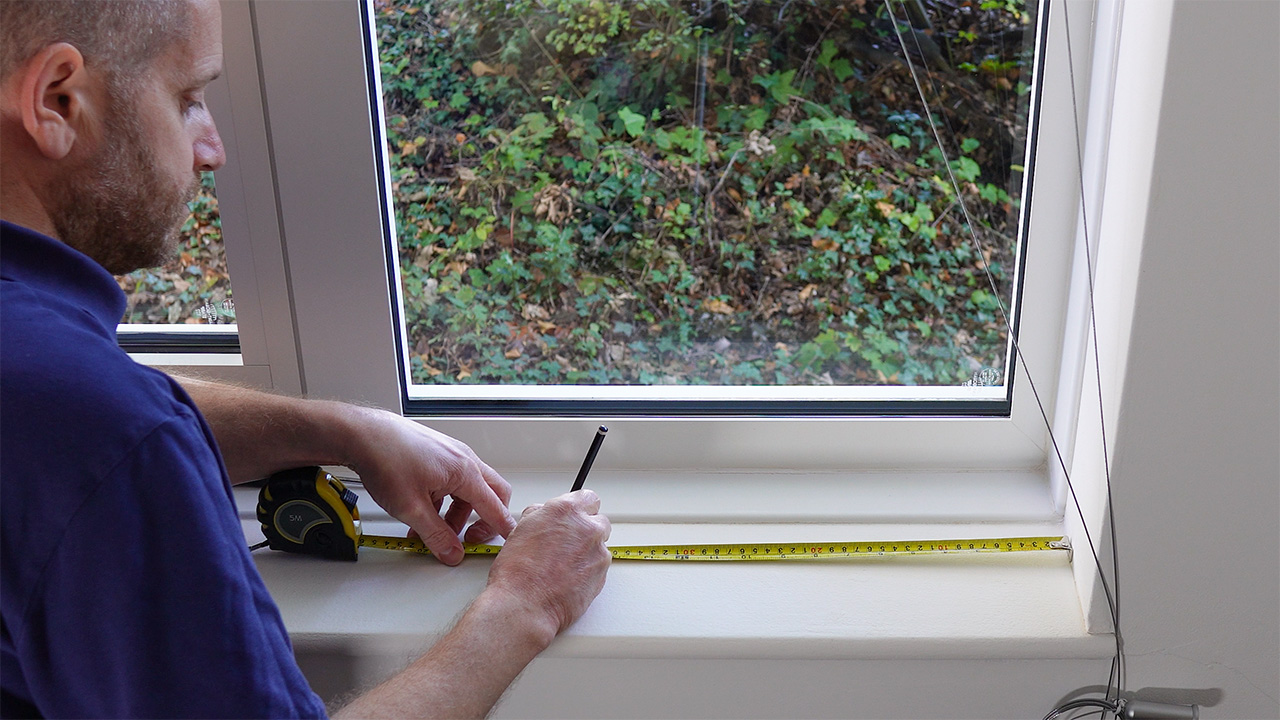
Carefully mark out the hole positions to the distance stated in the instructions provided, making sure to double check the measurements before proceeding to drill the holes.
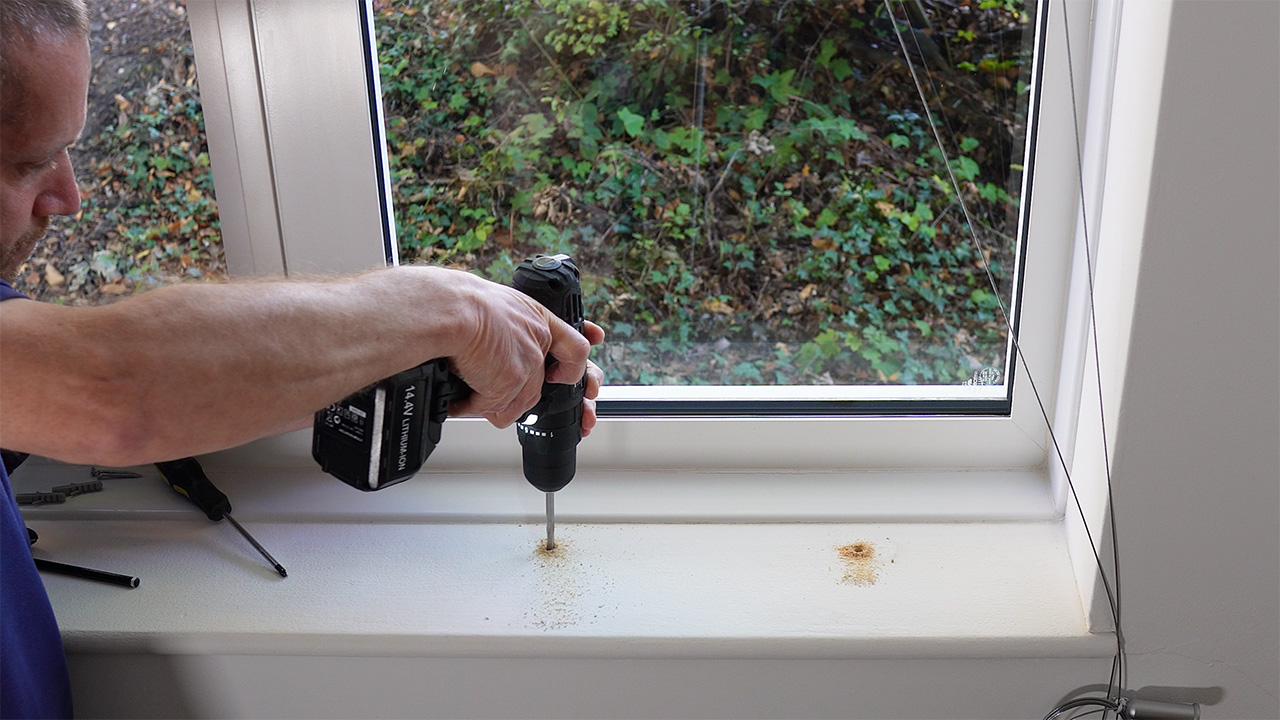
Drill the holes just like before, starting with a pilot drill bit (4 to 5mm will do), and then drill to the finished diameter by using a 7mm drill bit.
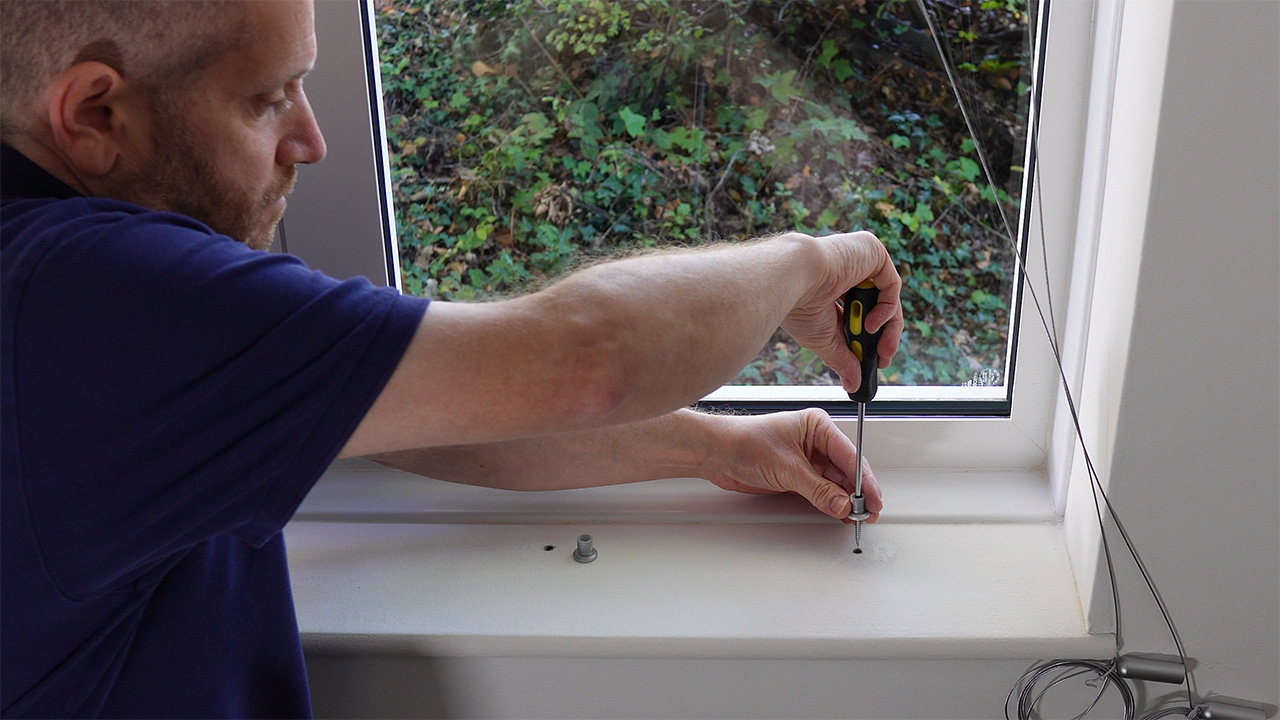
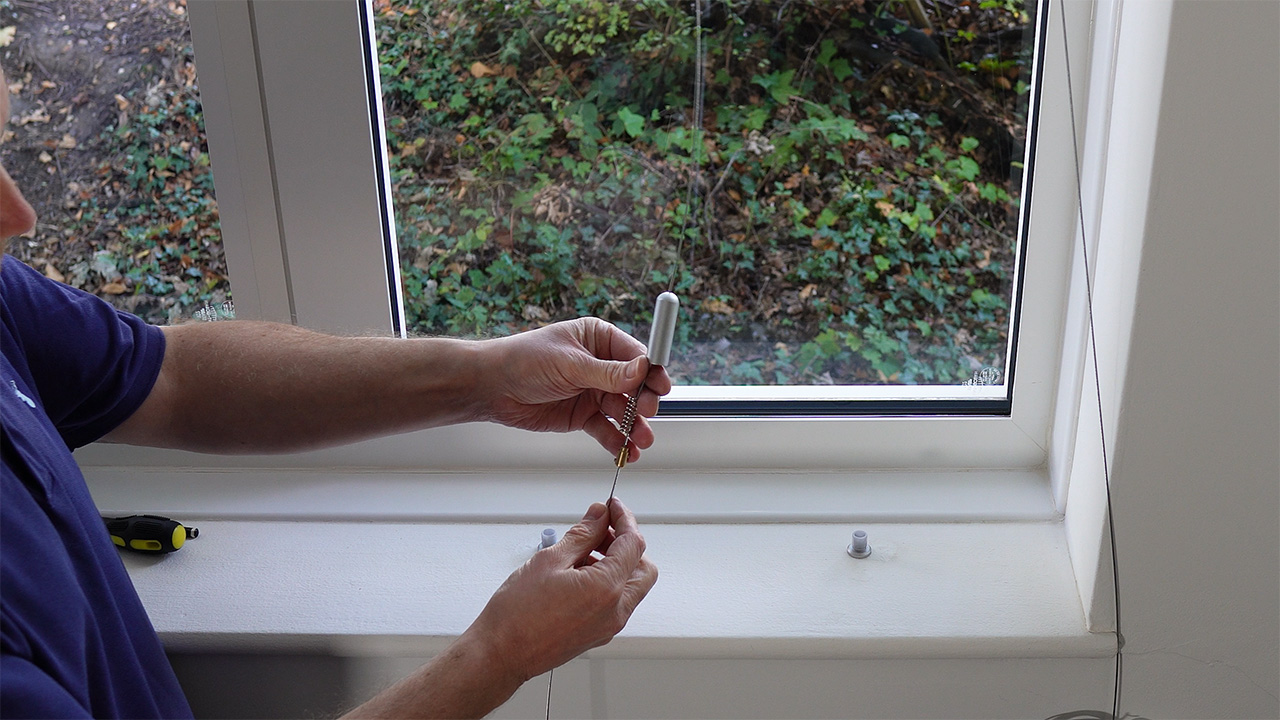
Gently hammer in the plastic plugs and then screw the inner fixings to the floor/window recess bottom, just like you did for the ceiling/window recess top.
Slide the spring and the adjustable brass nipple upwards along the cable and gently lock the nipple in position, to stop them getting in your way as you're cutting the cable to length.
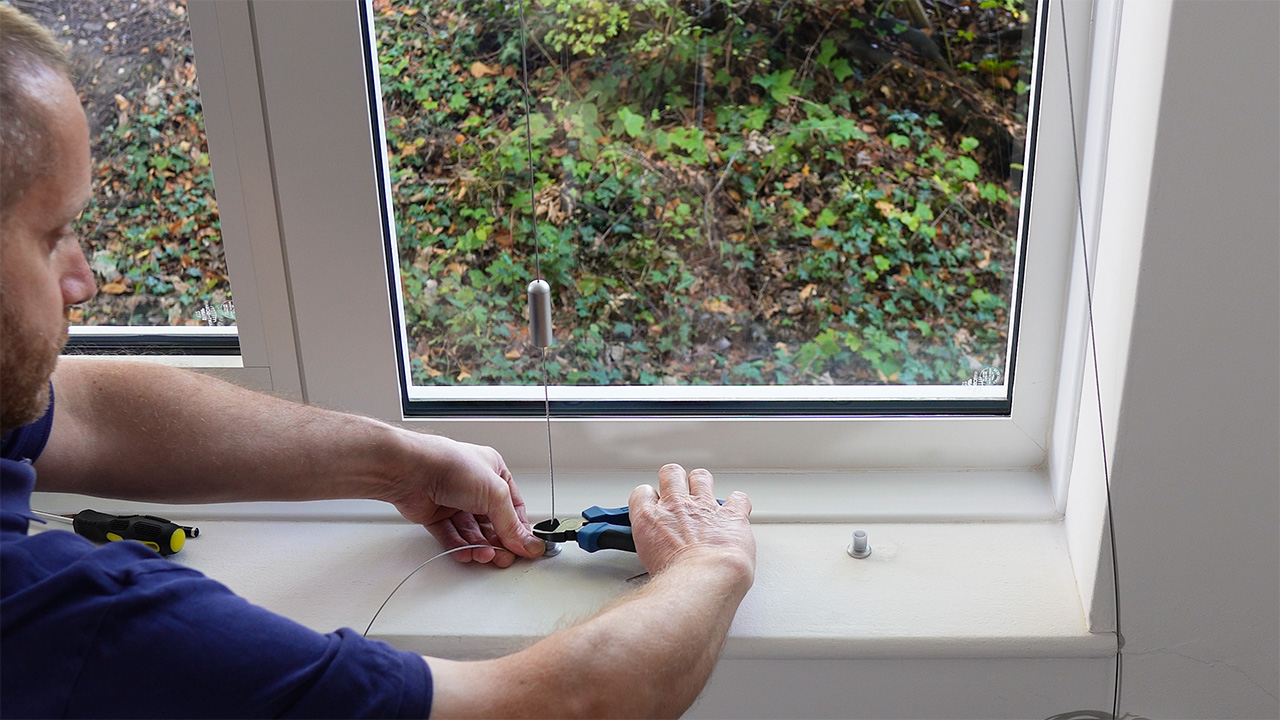
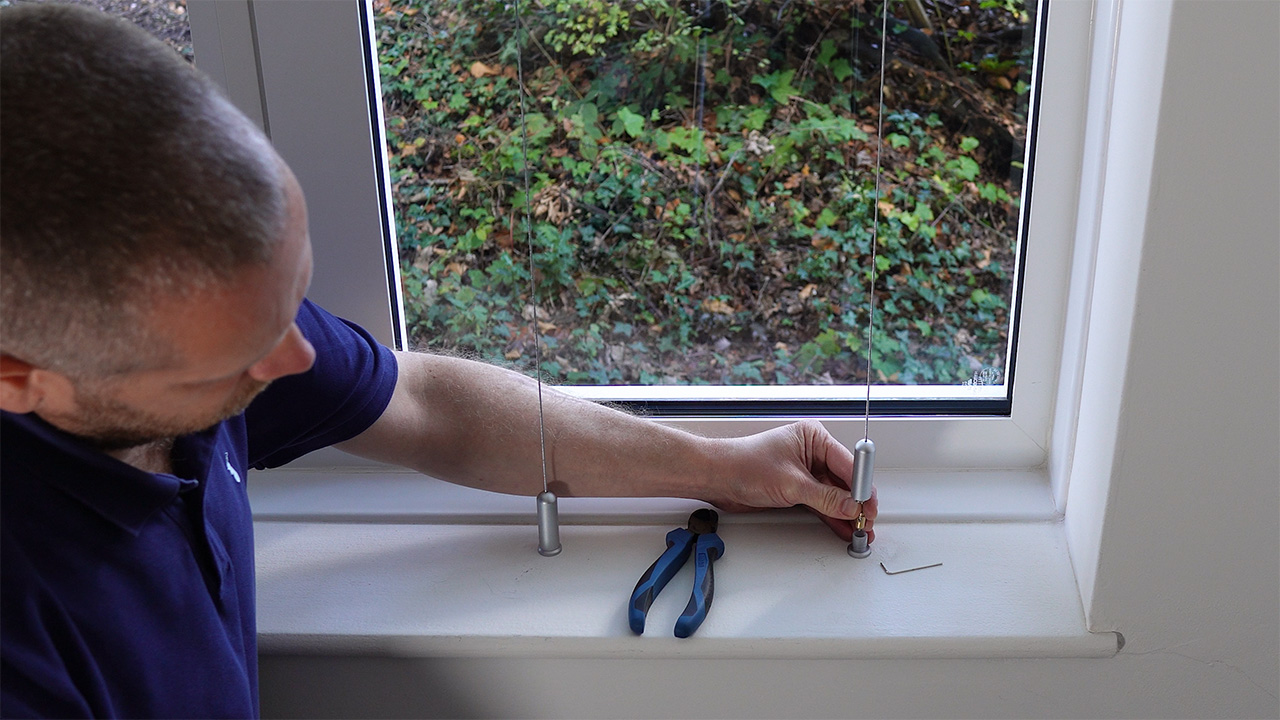
Cut the cable to length by cutting it flush with the top edge of the bottom fixing, i.e. 15mm above the floor/window recess bottom.
Lock the adjustable sliding nipple in position approximately 5mm from the end of the cable, by using the small Allen key provided with your display.
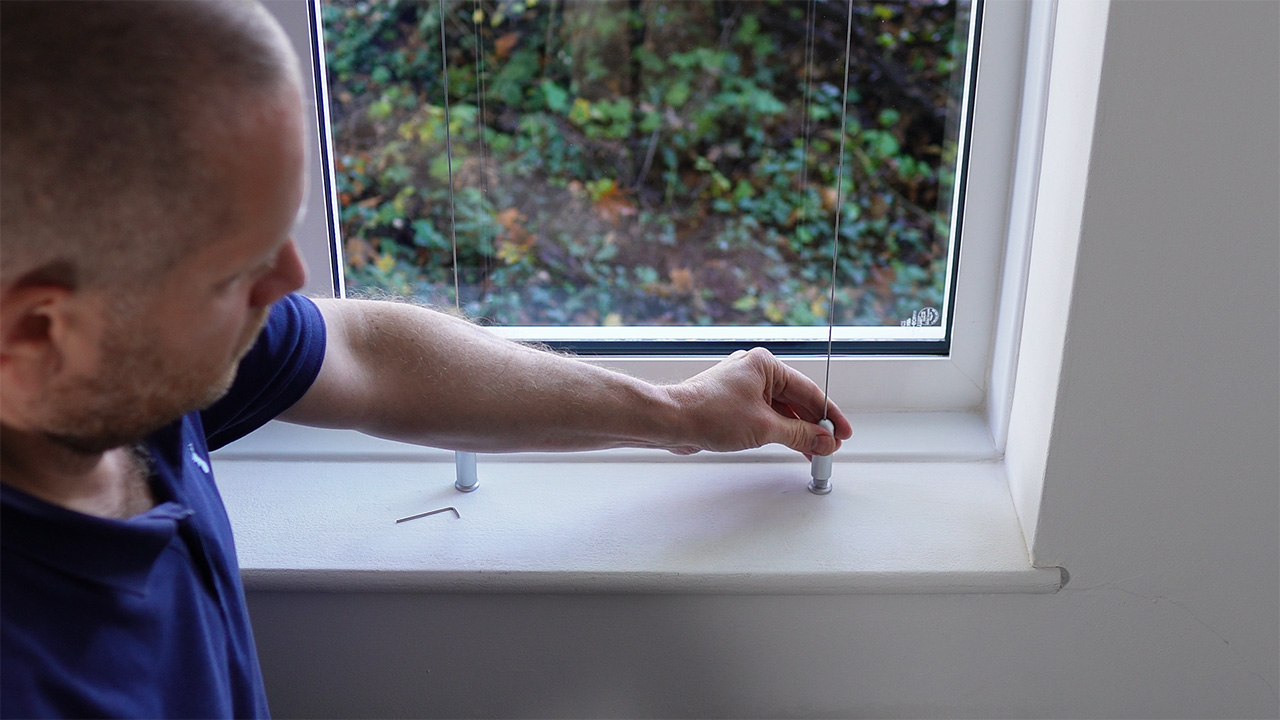
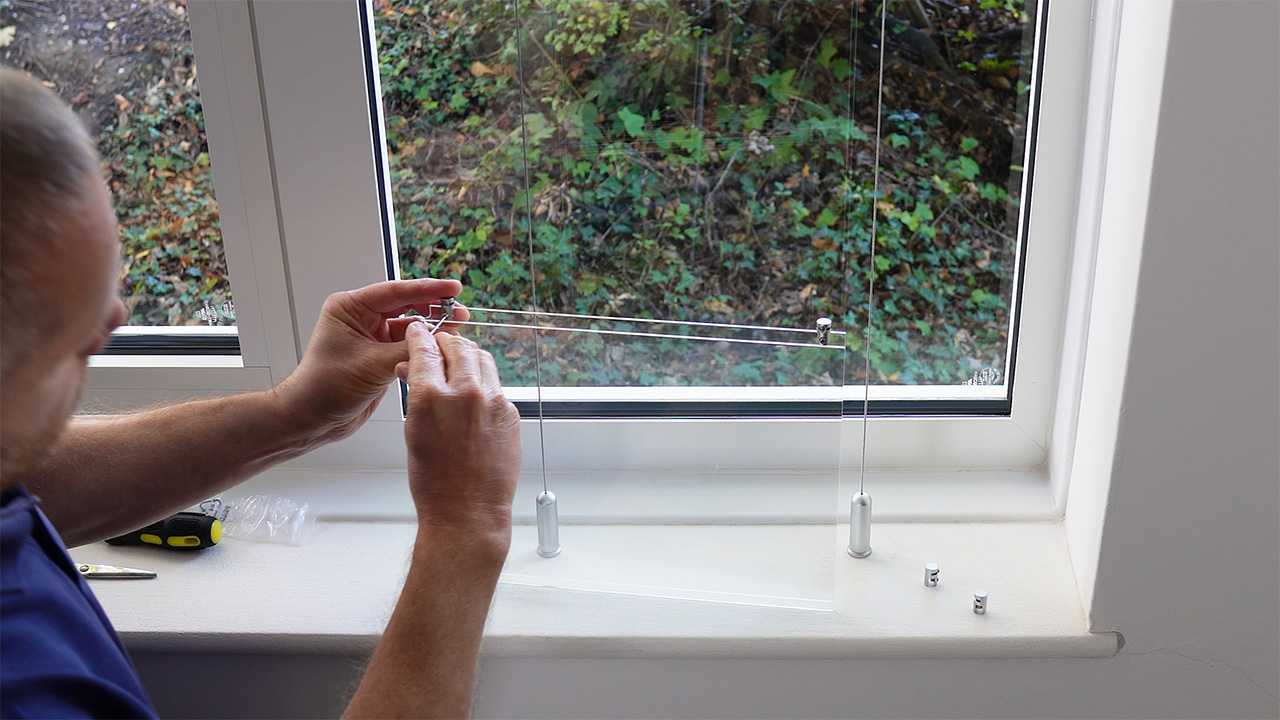
Screw the bottom inner fixing's outer body onto its inner fixing. This causes the spring to become compressed, thereby making the cable taut.
Attach all four panel clamps to the acrylic pocket. The clamps can be positioned at any distance from the top/bottom edges of the pocket, but 10mm to 20mm is typical.
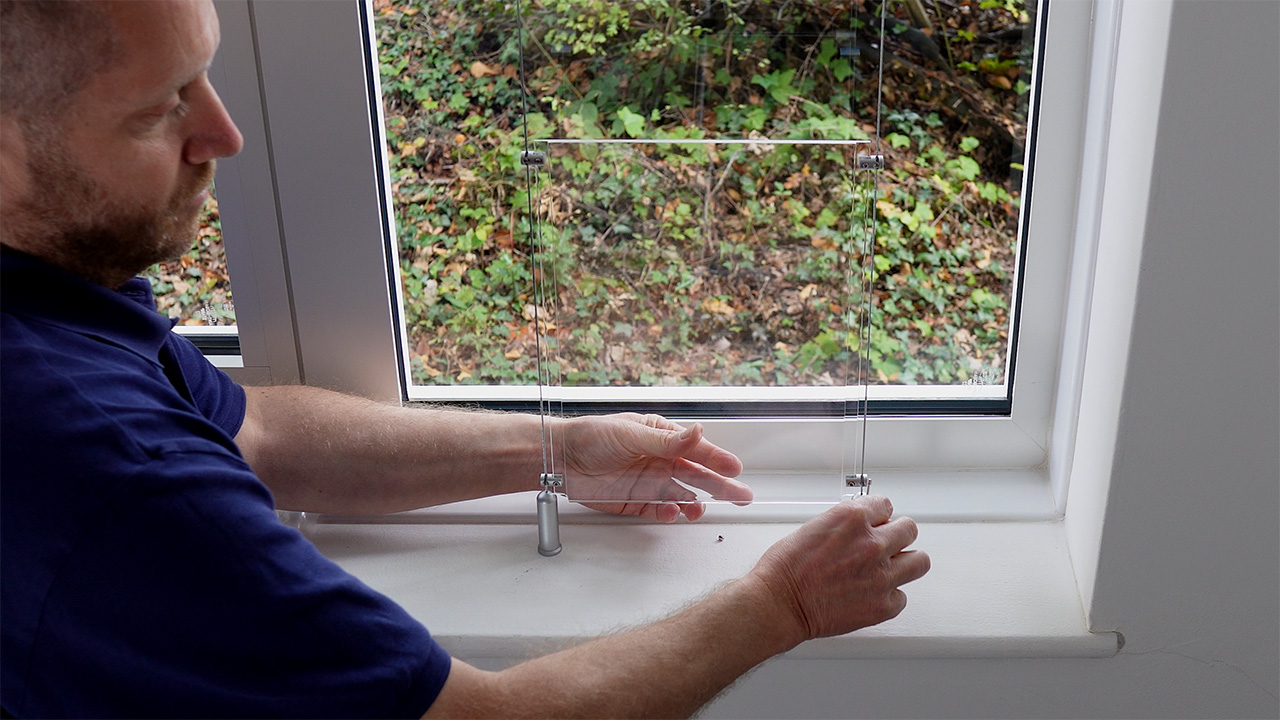
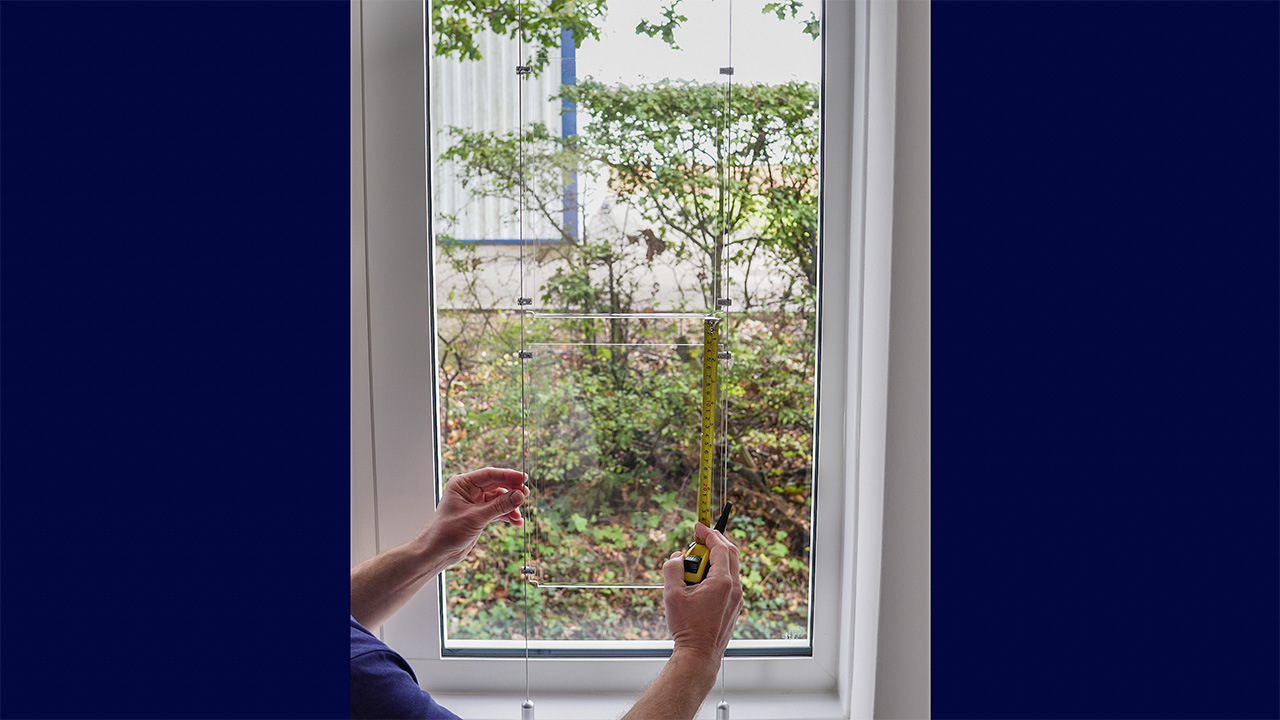
Remove the screws from the clamp slots to allow the cables to slide into the slots. Then place the acrylic pocket in position and reinsert the screws and tighten gently. Note that the narrower of the two faces (clamps Not attached to) should be facing inside the room/shop, which is the face that flexes away freely when inserting or removing a poster.
After you've finished positioning the pockets to your preferred height, loosen the grub screws just enough to allow the pockets to slide up and down the cables when gently pushed. You can then either use a tape measure to square them up or simply eye them up to your satisfaction, and then gently retighten the screws.
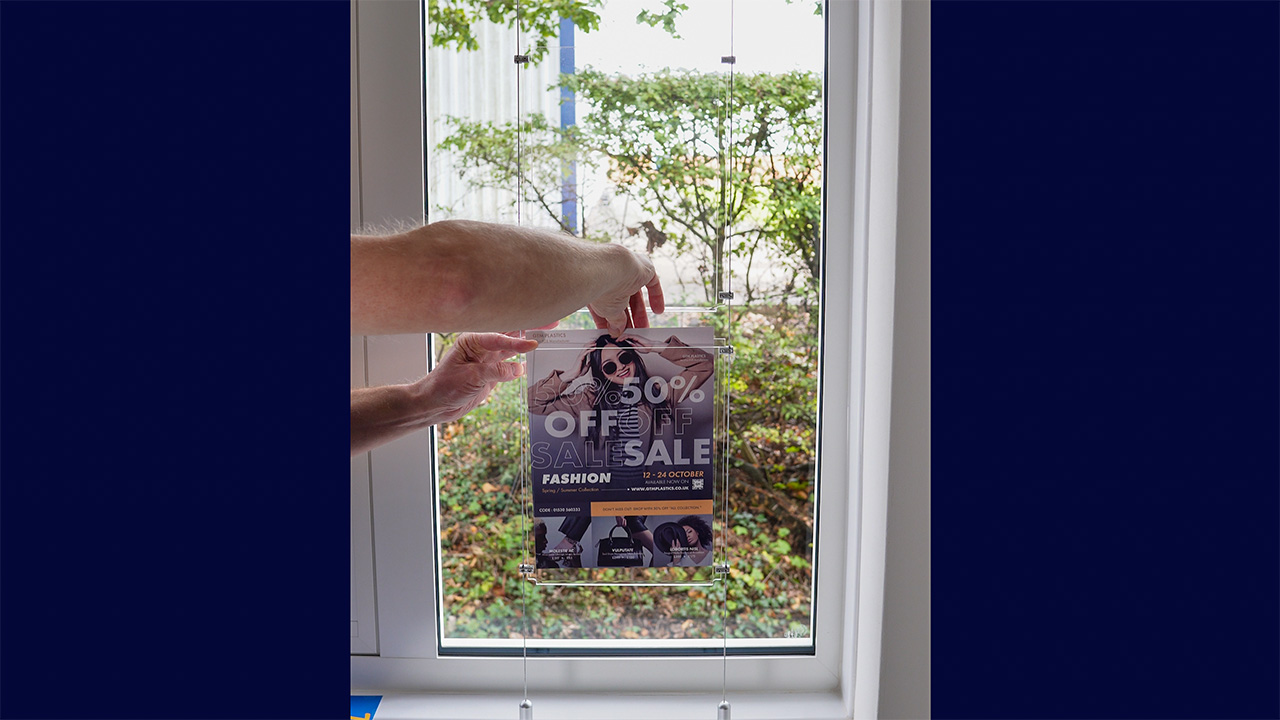
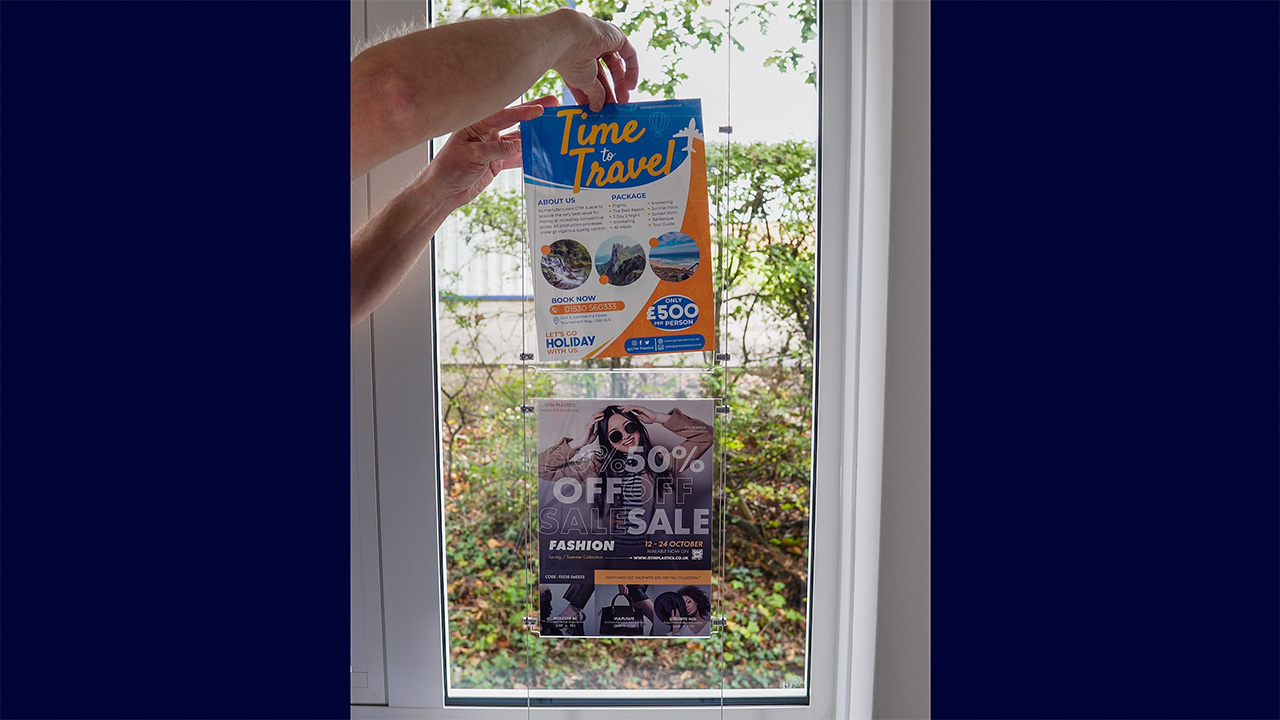
To insert your poster into the acrylic pocket, simply use your fingers to flex away the acrylic face that's facing inside your room/shop. You can insert two posters back-to-back if you prefer, thereby allowing you to advertise both facing the street and inside your shop/business.
If you decide that you want to adjust the height at which the pockets are suspended between the cables, simply loosen the grub screw in each of the four panel clamps for each pocket, just enough to allow them to slide up or down to your desired positions, and then gently retighten the screws.
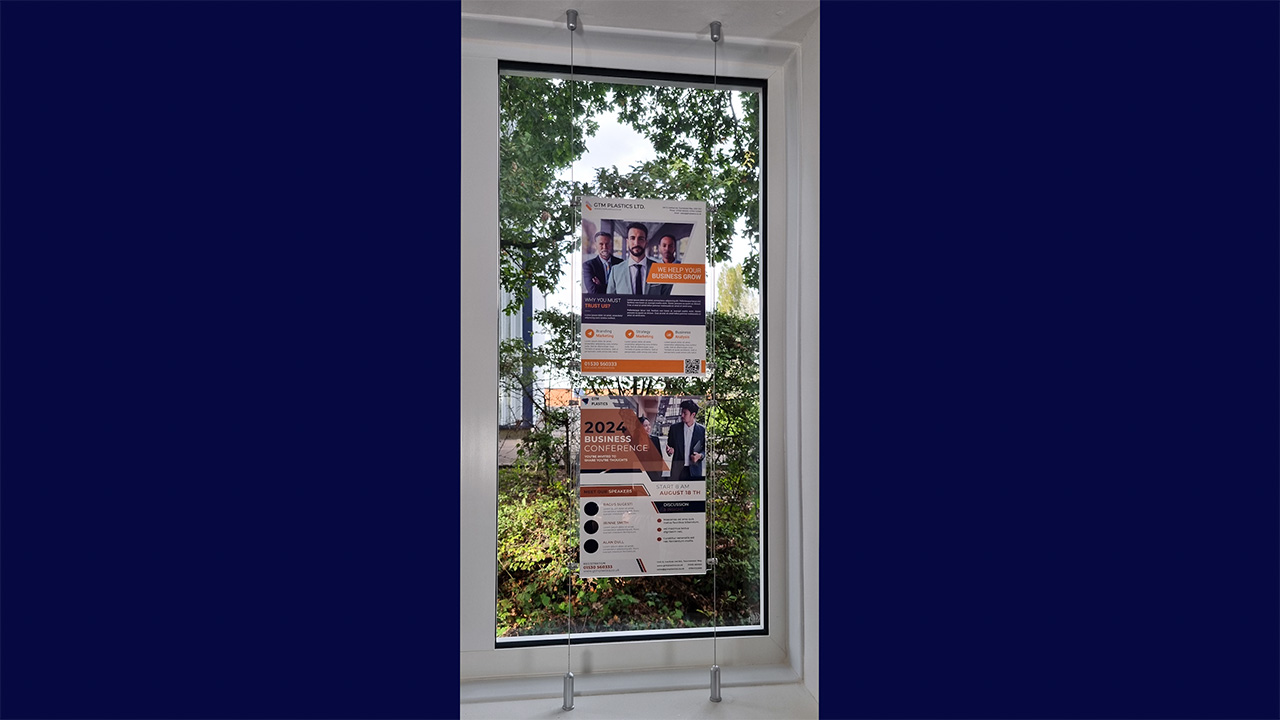
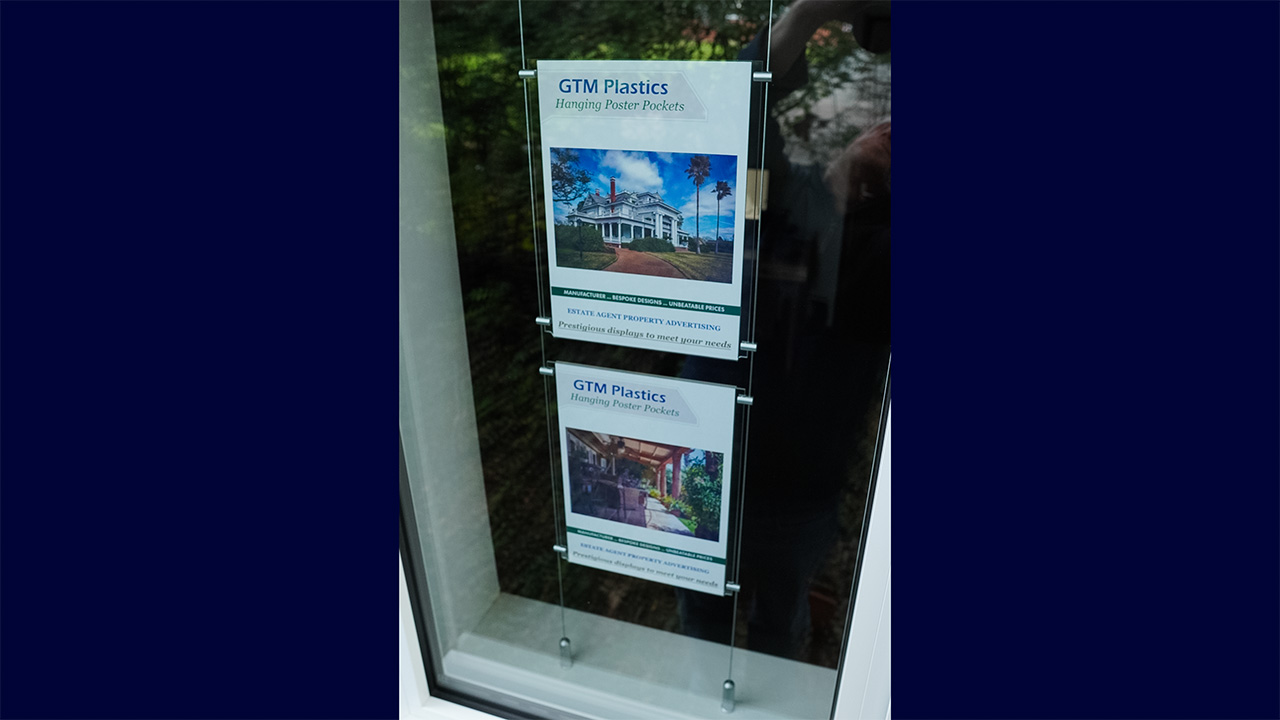
Here at GTM Plastics we manufacture all of our displays in-house. The display you can see here is just one of numerous layouts available for you to choose from.